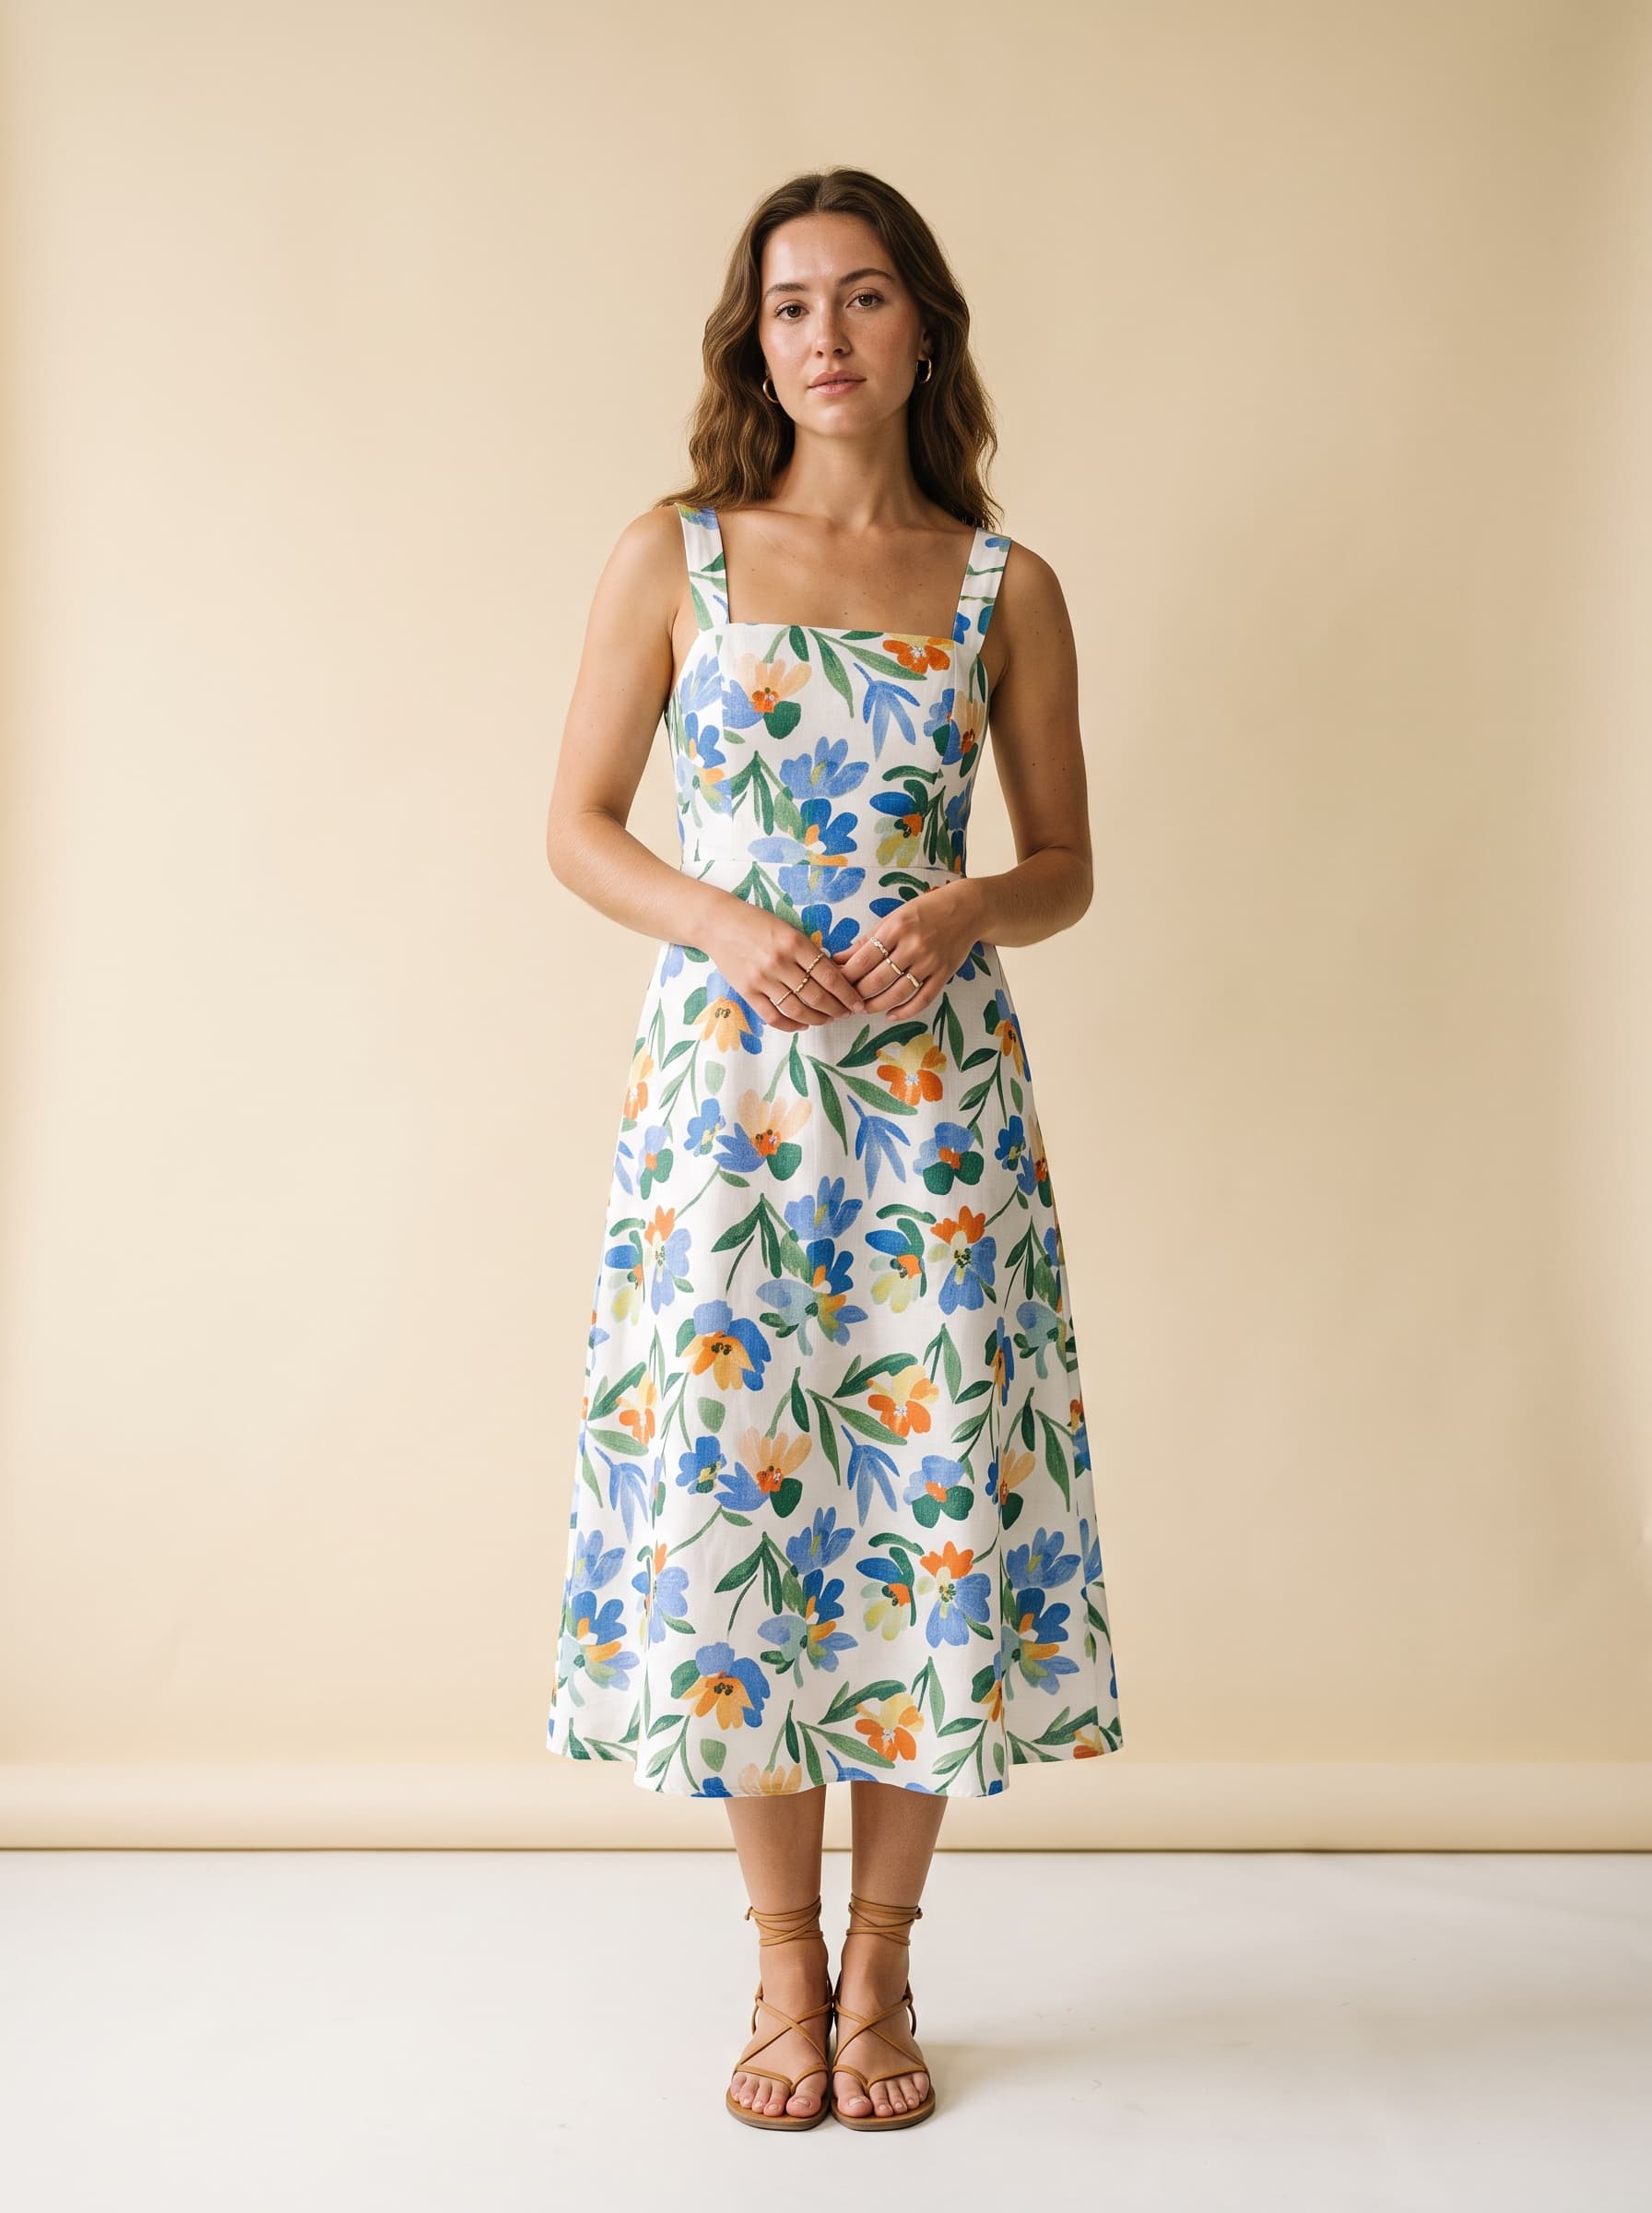
A dress is one of the hardest garments to sell online and one of the easiest to sell in a fitting room. The gap is entirely about the photo: shoppers want to see the cut, the drape, the length and how it moves on a body. This guide covers how to photograph dresses for ecommerce — which method to use, the exact shot list, and the lighting and styling that lift add-to-cart rates.
What buyers look for in a dress photo
Before you shoot, know what questions the image has to answer:
- Silhouette — where it sits at the waist, how the hem falls.
- Length — on a real body, not guessed from a flat lay.
- Fabric behaviour — stiff and structured, or soft and flowing.
- True colour and print — the number-one driver of returns.
- Fit details — neckline, sleeves, closures, lining.
Every choice below serves one of those answers.
Choose your method: flat lay, ghost mannequin or on-model
There are three ways to show a dress, and most stores use more than one.
| Method | Shows | Effort | Use it for |
|---|---|---|---|
| Flat lay | Colour, print, basic shape | Low | Simple styles, fast catalogues |
| Ghost mannequin | True 3D shape, no distraction | Medium | Structured dresses, tailoring |
| On-model | Fit, drape, movement, length | High | Hero images, premium pieces |
On-model shots convert best because they answer the fit and length questions no flat photo can. Flat lay and ghost mannequin are faster and cheaper for filling out a large catalogue.
Prep: this is 80% of the result
Steam or iron every dress before it goes in front of the camera. Fasten buttons and zips, straighten seams, lint-roll the fabric, and tuck away tags. A single wrinkle or stray thread reads as "cheap" and costs more to retouch than to prevent.
Lighting and background
Use one large, soft light source — a big window or a diffused softbox — placed to the side and slightly above. Bounce a white card into the shadows to keep detail. Shoot the main image on a clean pure-white background so the dress isolates cleanly; save textured and lifestyle backdrops for supporting frames. Keep the same setup across the whole range so colours and mood stay uniform.
The shot list
For each dress, capture:
- Hero — front, straight-on, full length, white background.
- Three-quarter — the most flattering, dimensional angle.
- Back — closures, keyholes, the full rear silhouette.
- Side — how it falls in profile.
- Detail — neckline, sleeve, fabric texture, print close-up.
- Movement (on-model) — a step or turn to show flow.
Styling for fit and drape
If you shoot on a model, choose someone who reflects the size you're selling and pin the garment discreetly at the back so it sits clean without altering the visible fit. On a mannequin, use the right size form and steam again once it's dressed. For flat lays, shape the dress deliberately — a gentle S-curve in the skirt reads as movement; a dead-flat rectangle reads as a bedsheet.
The fast way to get on-model dress photos
Mistakes to avoid
- Wrinkles and visible pins. Prep and pin out of frame.
- Colour that lies. Set white balance to a grey card so the print is true.
- Only one photo. A single front shot leaves fit and back unanswered.
- Harsh flash. Kills drape and texture — use soft, diffused light.
- Inconsistent length framing. Keep the model and crop consistent so shoppers can compare styles.
Keep going
This is one piece of the bigger picture — see the complete ecommerce product photography guide for gear and lighting fundamentals, or jump to menswear and sarees for category-specific shot lists.