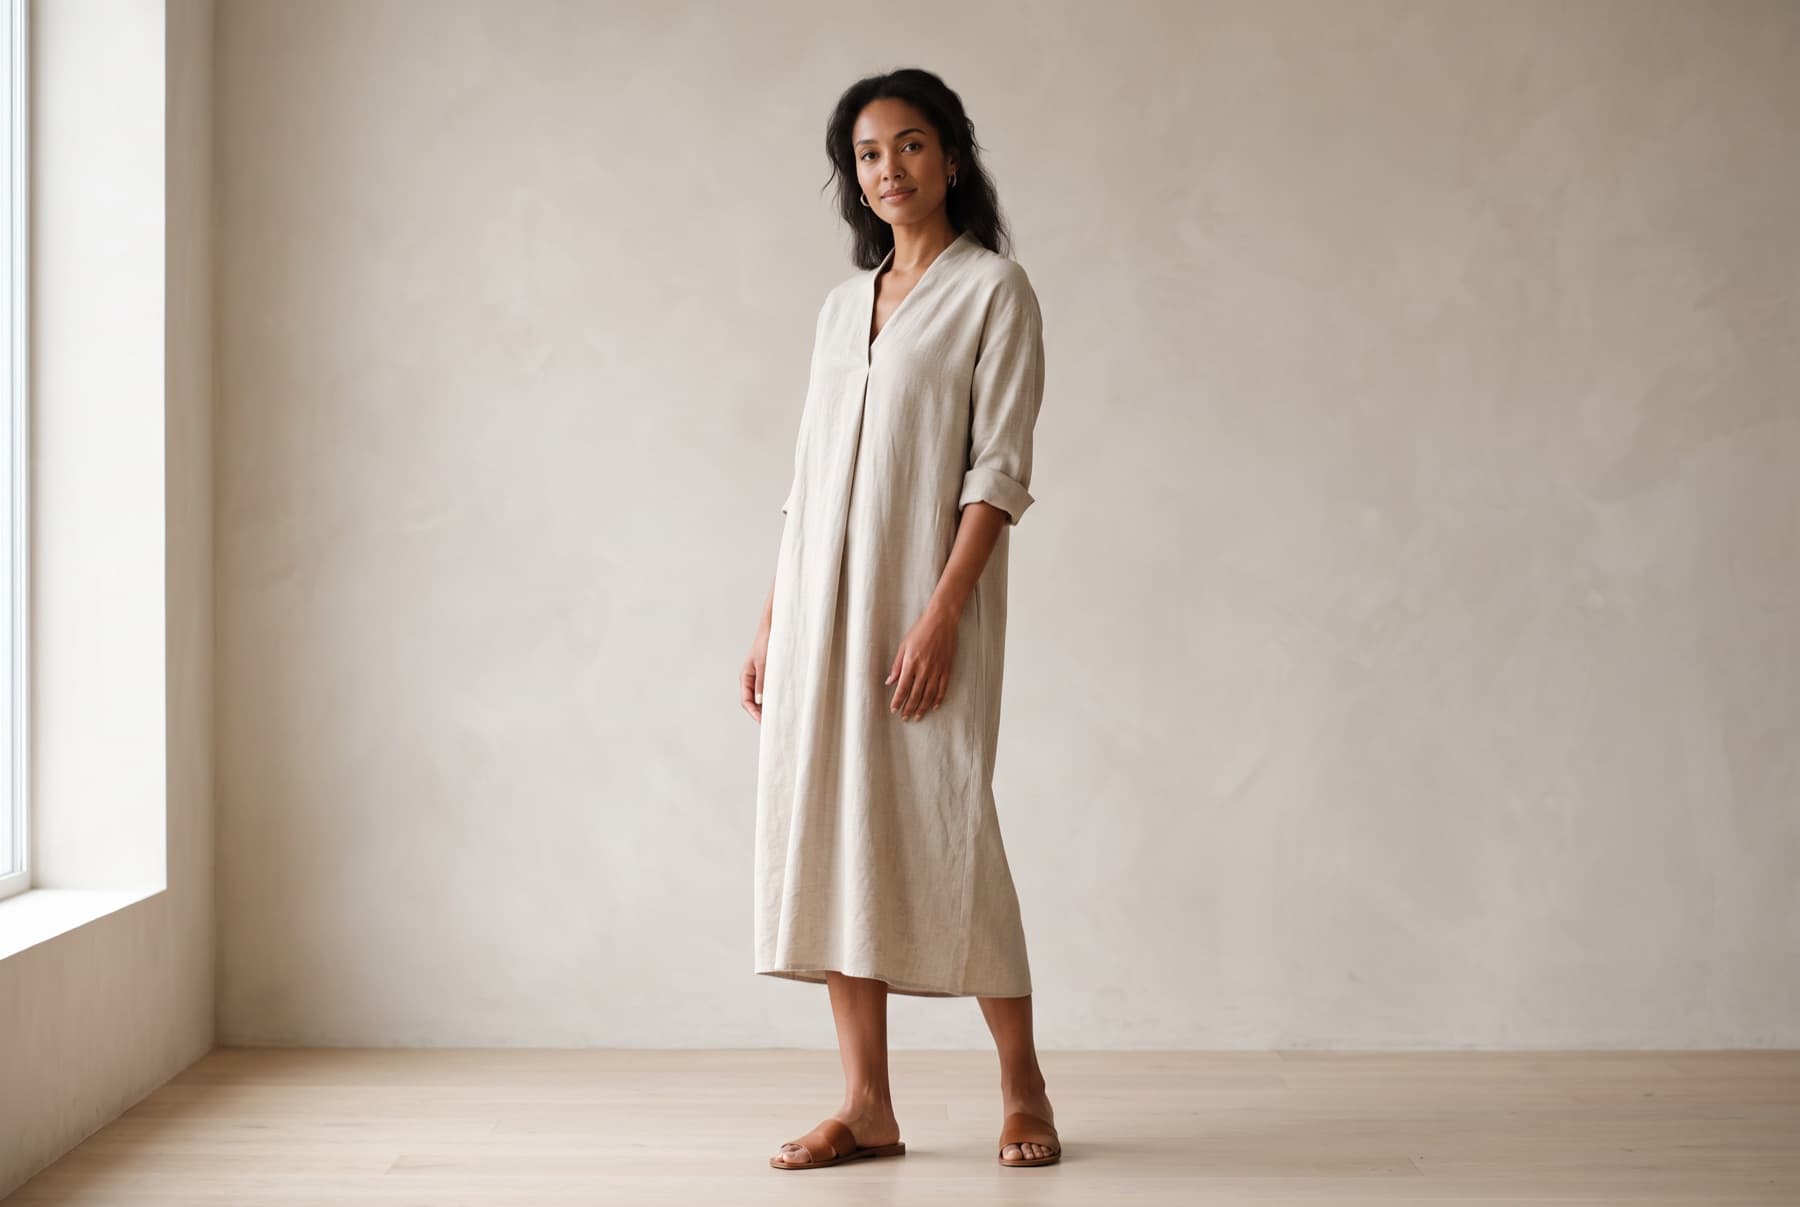
Product photos are the single biggest lever on an ecommerce listing. Shoppers can't touch, weigh or try on what you sell — the image does all of that work for them. Get it right and a product looks worth buying; get it wrong and even a great product stalls in the cart. This guide walks through everything that goes into strong ecommerce product photography, from gear and lighting to a category-by-category playbook you can copy.
Why product photography decides whether a listing sells
On most marketplaces, the photo is the first — and sometimes only — thing a shopper evaluates before deciding to click, scroll or leave. Clear, consistent, well-lit images do three things at once: they build trust, they answer questions ("what colour is it really?", "how big is it?"), and they set the tone for how premium your brand feels.
You don't need a full studio to get there. You need to understand a handful of fundamentals and apply them the same way every time. Consistency is what turns a set of photos into a catalogue.
The gear you actually need
Start simple and upgrade only when a specific problem forces you to.
- Camera. A modern smartphone shoots excellent product photos. Use the main rear lens, lock focus and exposure, and skip digital zoom.
- Tripod. The cheapest, highest-impact purchase you'll make. It keeps framing identical shot to shot and eliminates blur.
- Light. One large, soft light source beats three harsh ones. A big window works. Two softboxes work. Bare bulbs and on-camera flash do not.
- Background. A clean sweep of white or light-grey paper covers most products. Add a few surfaces (wood, stone, linen) for lifestyle shots later.
- Cleaning kit. A microfibre cloth and a lint roller. Dust and fingerprints cost more editing time than anything else.
Lighting: the one thing that matters most
If you fix only one variable, fix light. Soft, even, directional light flatters almost everything; harsh light creates hard shadows, blown highlights and colour you can't trust.
Natural light
A large window on an overcast day is a giant softbox. Place the product side-on to the window, bounce light back into the shadows with a white card or foam board, and shoot at the same time of day so colours stay consistent.
Studio light
When daylight isn't reliable, use one or two softboxes at roughly 45 degrees to the product, slightly above it. Diffuse everything. For reflective products, the goal is to control what the surface reflects — soften and enlarge the light until harsh hotspots disappear.
Backgrounds: white, neutral, and lifestyle
Every listing needs at least one clean shot and, ideally, one shot in context.
- Pure white is the marketplace standard for the main image — it isolates the product and keeps galleries consistent. Amazon and most platforms expect it.
- Neutral grey or paper tones feel a little softer and work well for brand sites.
- Lifestyle / in-context shots show scale and use. They're the images that make a shopper picture owning the thing.
Most strong listings use more than one style. Lead with the clean shot, then support it with detail and lifestyle frames.
The three ways to show a product
For anything wearable or three-dimensional, you're choosing between three presentation methods:
| Method | Best for | Cost & effort | Conversion |
|---|---|---|---|
| Flat lay | Simple garments, accessories, quick catalogues | Low | Moderate |
| Mannequin / ghost mannequin | Structured garments, showing true shape | Medium | Good |
| On-model | Apparel, aspirational products, premium brands | High | Highest |
On-model imagery converts best because shoppers can see fit, drape and scale — but it's also the slowest and most expensive to produce. Much of this guide is about closing that gap.
The angle set every listing needs
Thin galleries lose sales. As a baseline, capture:
- Hero / main — clean, straight-on, pure-white background.
- Three-quarter — the most natural, dimensional angle.
- Back and sides — nothing hidden means fewer returns.
- Detail / macro — texture, stitching, hardware, material.
- Scale or in-use — worn, held, or staged so size is obvious.
Different categories add their own must-have angles on top of this — a shoe needs its sole, a bag needs its interior, a saree needs its pallu and border.
A category-by-category cheat sheet
Every product type has quirks. These deep-dive guides cover the exact setup, shot list and styling for each:
- How to photograph dresses — flat lay, ghost mannequin and on-model.
- How to photograph sarees — true colour, pallu and border detail.
- How to photograph menswear — shirts, denim and tailoring.
- How to photograph kids' clothing — fast setups without a long child shoot.
- How to photograph activewear — fit, movement and technical fabrics.
- How to photograph jewelry — macro focus and reflection control.
- How to photograph shoes — the eight-angle footwear set.
- How to photograph bags and accessories — shaping, straps and scale.
Editing and consistency
Good editing is invisible. Correct white balance so colours are true, even out exposure across a set, remove dust and stray threads, and crop to the same ratio every time. The aim isn't a "photoshopped" look — it's a clean, honest, uniform gallery. If your product's real colour doesn't match the photo, you'll pay for it in returns and reviews.
The faster path
That workflow doesn't replace the fundamentals in this guide — it applies them for you. Understanding angles, lighting and shot lists still tells you what to ask for and how to judge the result.
Common mistakes to avoid
- On-camera flash. It flattens texture and creates harsh reflections. Never use it on jewelry or anything glossy.
- Wrinkles and dust. Steam garments, stuff bags, polish metal. Prep beats retouching.
- Too few photos. Every hidden angle is a reason to hesitate — or return.
- Inconsistent framing. Different crops and colour casts make a catalogue look amateur.
- Colours that lie. The fastest route to bad reviews. Nail white balance.
Frequently asked questions
How many photos does a product listing need? Aim for five to eight: hero, three-quarter, back/sides, at least one detail shot, and a scale or in-context frame.
Do I need a professional camera? No. A recent smartphone on a tripod with soft light will out-shoot an expensive camera used badly.
What background should the main image use? Pure white for marketplaces. Add lifestyle and detail shots to support it.
What's the fastest way to get on-model photos? Rather than booking a shoot, turn a single flat photo into on-model images with a tool built for it — the same result, without the studio day.
Start with the category guide that matches what you sell, and build your catalogue one consistent shot at a time.