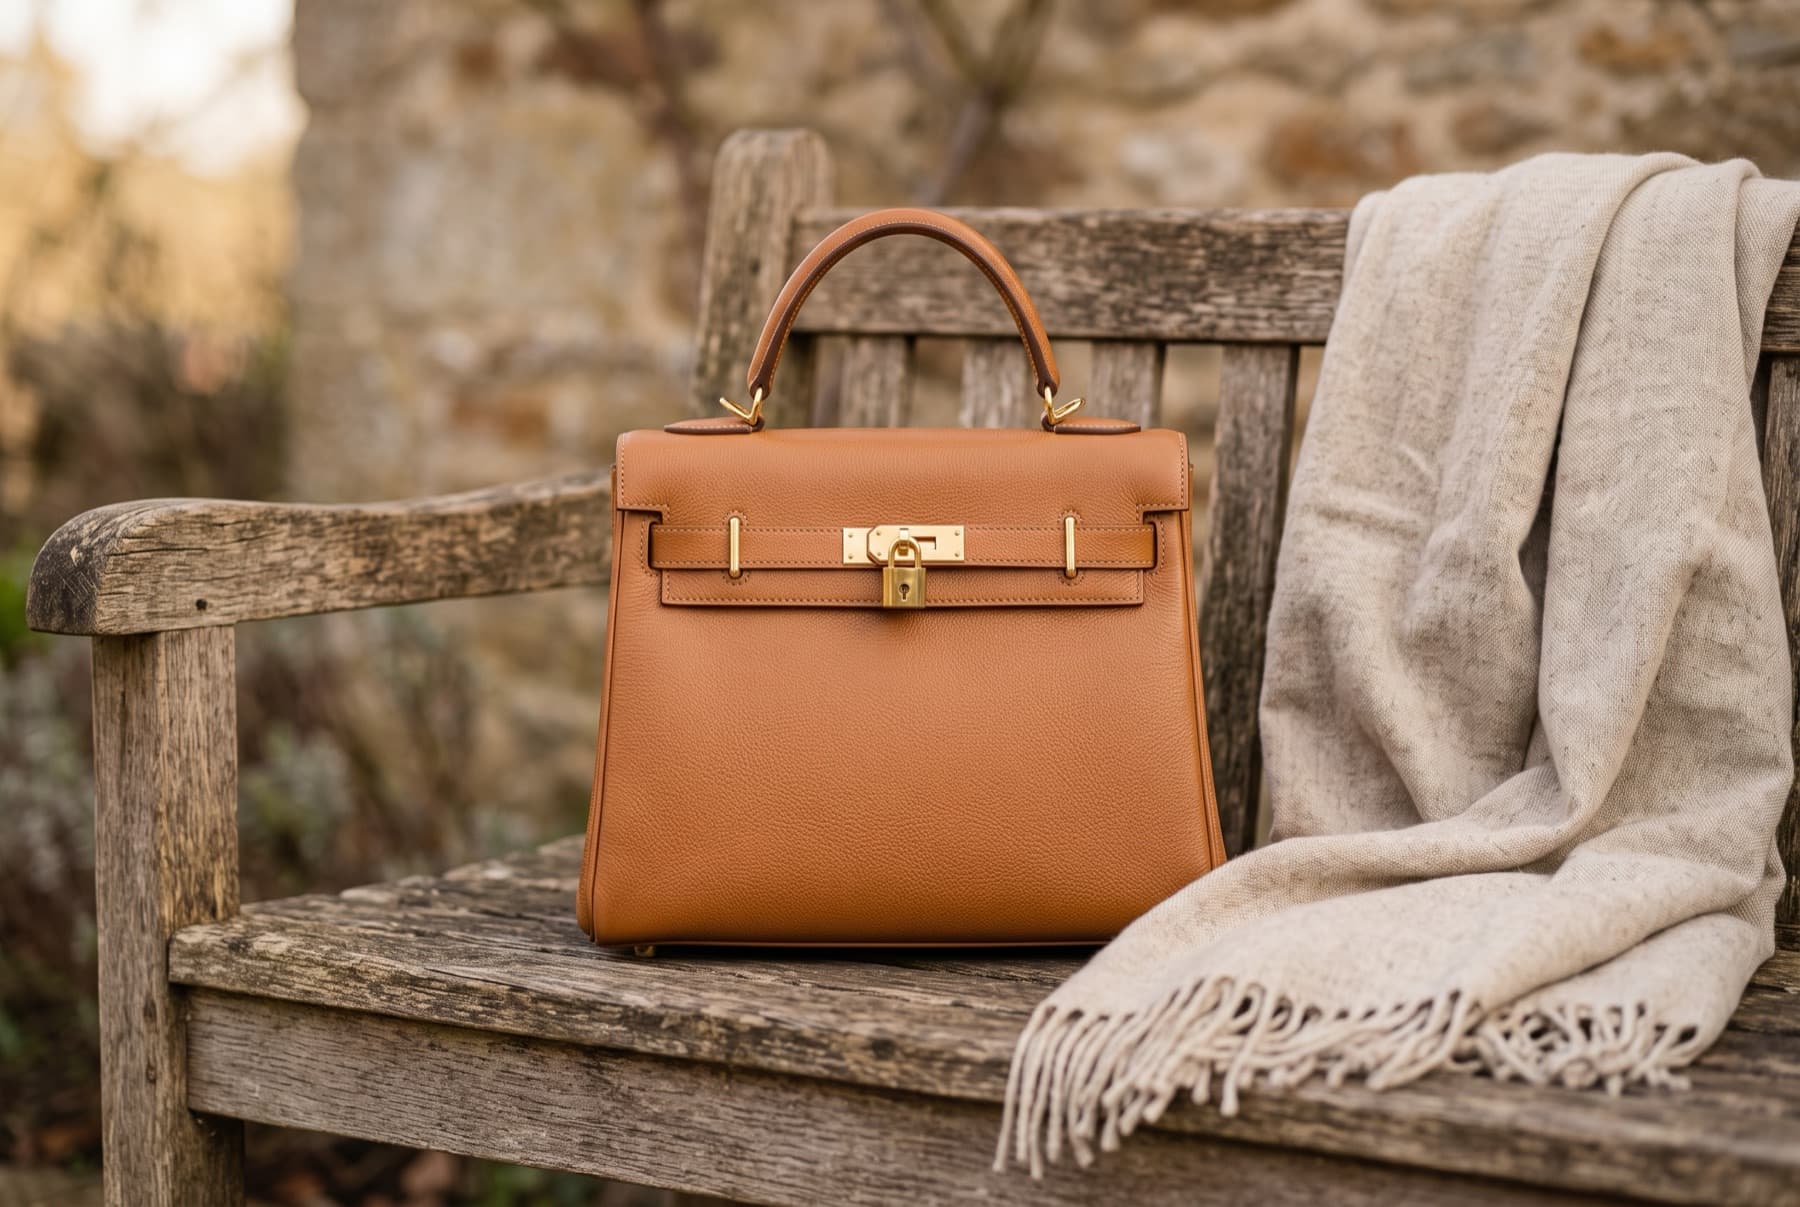
Bags are deceptively hard to photograph. Empty, they slump and look cheap; badly lit, their texture disappears; without a scale cue, a shopper can't tell a clutch from a tote. This guide covers how to photograph bags and accessories for ecommerce — shaping, strap rigs, the angle set and the scale shots that make them look premium.
What buyers look for in a bag photo
- Shape and structure — the silhouette that defines the style.
- Material and texture — leather grain, canvas weave, hardware finish.
- Scale — how big it actually is.
- Interior and function — pockets, lining, capacity.
- Details — stitching, zips, clasps, logos.
Shape the bag first
The single biggest fix in bag photography is stuffing. An unstuffed bag collapses and reads as low quality.
- Fill the body with bubble wrap or packing paper to hold a full, natural shape — bubble side inward for a smooth surface.
- Don't overstuff, or it looks bloated and lumpy.
- Use tissue at the corners to keep structure crisp.
Handle straps and handles
Floppy straps look sloppy and hide the design. Rig them so they show form:
- Support handles upright with a clear stand, wire or fishing line tied off above the frame.
- Use a single strand where possible — one line is far easier to retouch out than a knot.
- Show a shoulder strap at its real drop so length is clear.
The angle set
- Hero — front, straight-on, white background.
- Three-quarter — depth and side profile together.
- Side — gusset and true thickness.
- Back — rear pockets and panels.
- Top / open — interior, lining and pockets.
- Detail macro — hardware, stitching, texture.
- Scale / worn — held or on a shoulder so size makes sense.
Lighting and background
Avoid harsh, direct light, which throws unflattering shadows and glare across leather and hardware. Use soft, diffused light to reveal texture, and expose so the grain and stitching stay visible. Shoot the main image on a clean white background — the ecommerce standard — and keep the setup identical for every bag. Mark the bag's position with tape so each angle lines up exactly.
Show scale
Scale is the most common bag complaint ("smaller than it looked"). Include at least one shot with the bag held, on a shoulder, or in the crook of an arm so the size reads instantly and the image sells the feeling of carrying it.
The fast way to get worn and styled bag shots
Post-processing
Clean the bag before shooting, then keep edits honest: correct white balance so leather tone and colour are true, even out exposure across the set, and retouch out the stuffing, stands or line used to shape it. Crop every angle to the same ratio for a clean gallery.
Mistakes to avoid
- Unstuffed bags. Shape them so they look full and premium.
- Floppy straps. Rig them upright and retouch the rig out.
- No interior shot. Buyers want to see capacity and lining.
- No scale cue. Add a worn or held frame.
- Harsh light. Diffuse to keep texture and control glare.
Keep going
See the complete product photography guide for fundamentals, and jewelry and shoes for the shot lists that complete an accessories catalogue.