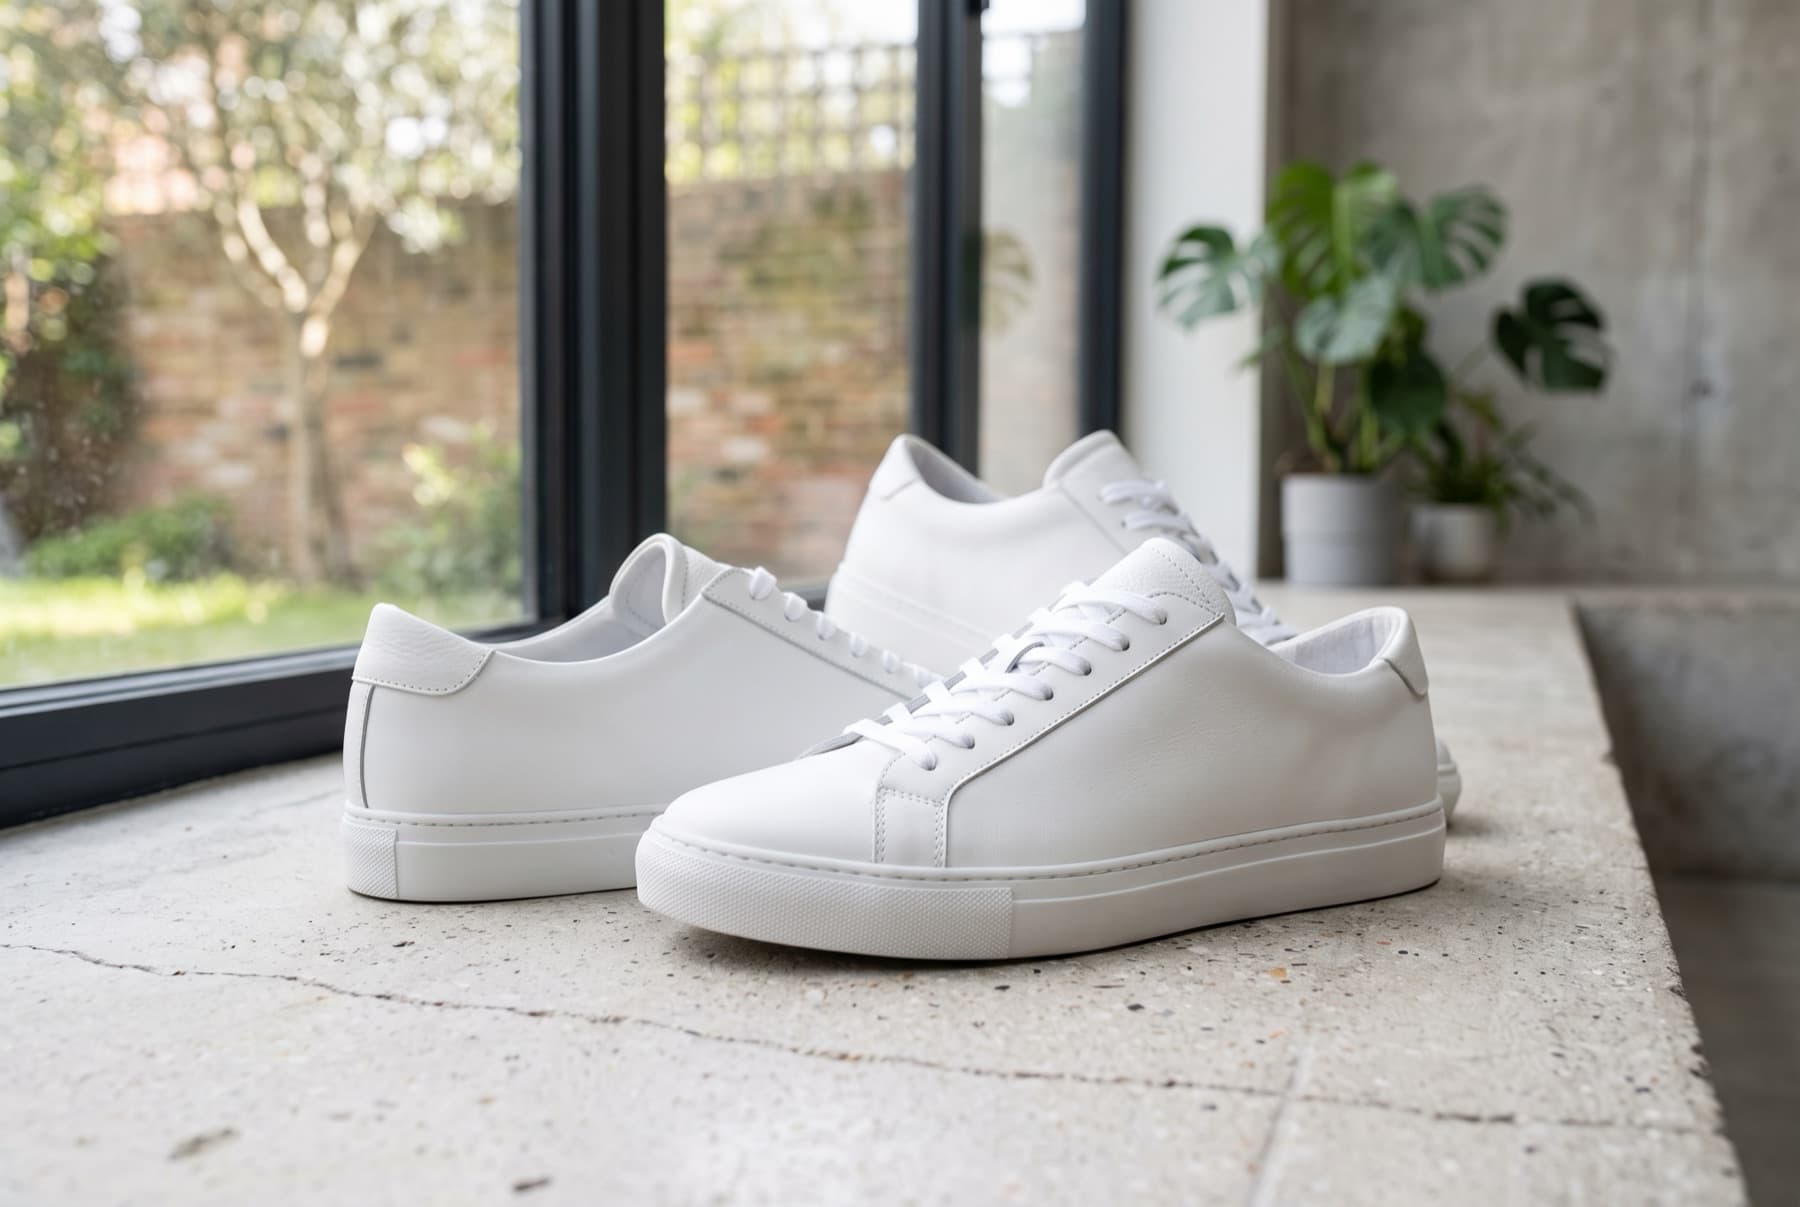
Shoes are all angles. A single front shot tells a buyer almost nothing — they want the profile, the sole, the back and the details before they'll trust the fit and finish. This guide covers how to photograph shoes for ecommerce: the full angle set, material-aware lighting, and the shaping tricks that make footwear look sharp.
What buyers look for in a shoe photo
- Profile shape — the silhouette that defines the style.
- Sole and tread — construction, grip, heel height.
- Material and finish — leather, canvas, mesh, suede.
- Details — stitching, laces, logos, hardware.
- Fit cues — how it looks worn or from the top.
The eight-angle shot set
Competitive shoe listings run seven to eight images. Capture, per pair or single shoe:
- Right side profile — the signature view.
- Left side profile — for asymmetric designs and full coverage.
- Three-quarter front — toe box, side and laces in one frame.
- Three-quarter back — heel and side together.
- Back — heel counter and branding.
- Top / bird's-eye — opening, laces and top detail.
- Sole — tread, construction, any logo.
- Detail macro — stitching, texture or a standout feature.
Shoot a single shoe for the clean angles and add a paired shot for context.
Shape the shoe so it looks worn
An empty shoe collapses and looks lifeless. Stuff the toe and body with tissue or paper so it holds its intended shape, and use a small support or angled block to lift it into a natural three-quarter stance. The goal is the illusion that someone could step into it.
Lighting by material
Different materials want different light:
- Full-grain leather — soft, diffused light from both sides at roughly 35–55 degrees to show the grain without glare.
- Canvas — forgiving; basic soft window light is plenty.
- Mesh — add backlight to reveal the weave and signal breathability.
- Patent / glossy — enlarge and diffuse the light heavily to control hotspots, as with jewelry.
Keep a pure-white background for the main image and consistent light across every pair.
The fast way to get styled and on-model shoe shots
Post-processing
Clean each shoe before shooting, then keep editing light: correct white balance so leather and colour are true, even out exposure across the angle set, and remove the stuffing or supports from the frame. Crop every angle to the same ratio so the gallery scans cleanly.
Mistakes to avoid
- Too few angles. No sole or back shot means hesitation.
- Unshaped shoes. Stuff them so they look wearable.
- Wrong light for the material. Glossy and mesh need special handling.
- Visible supports. Rig cleanly and edit out props.
- Inconsistent framing. Same crop and light across the range.
Keep going
Start with the complete product photography guide for fundamentals, then see bags and accessories and activewear for the shot lists that complete a footwear-and-athleisure catalogue.