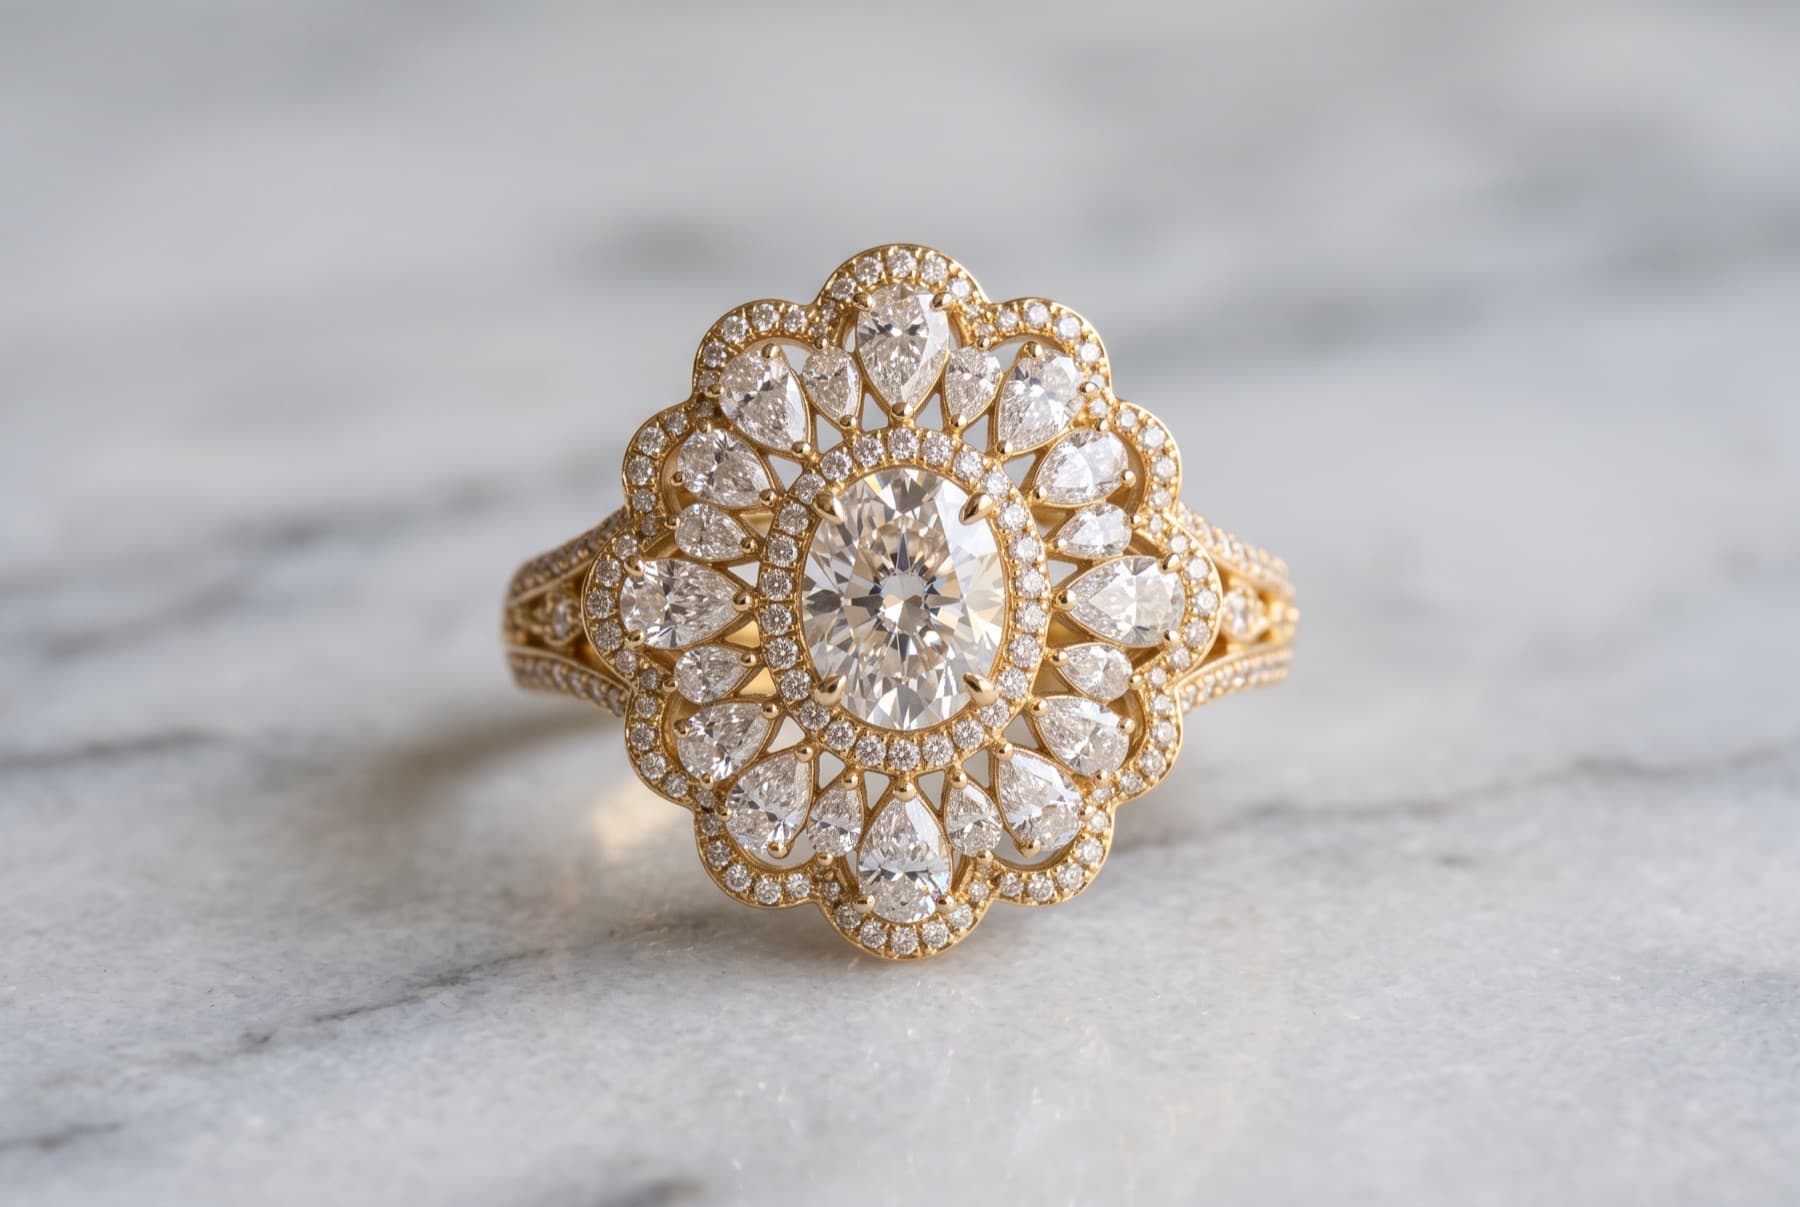
Jewelry is the toughest product category to photograph well. The pieces are small, reflective and full of fine detail — exactly the things a camera struggles with. But it's also the category where photo quality most directly drives price and trust. This guide covers how to photograph jewelry for ecommerce: focus, lighting, reflection control and the shot list that sells rings, necklaces and earrings.
What buyers look for in a jewelry photo
- Fine detail — prongs, hallmarks, gemstone facets, clasps.
- True metal tone and stone colour — gold vs rose gold, the exact stone.
- Scale — how big it actually is on a hand, ear or neck.
- Craftsmanship — sharpness that signals quality.
Gear: the lens matters more than the camera
For fine jewelry, detail is everything, so a macro capability beats megapixels. A dedicated macro lens on any recent camera captures prongs and facets crisply. On a smartphone, lock focus and exposure, use a macro attachment, avoid digital zoom, and always shoot on a tripod — at macro distances the tiniest shake ruins sharpness.
Lighting and reflection control
Metal and gemstones reflect whatever is around them, so jewelry lighting is really about controlling reflections.
- Use soft, diffused light — two softboxes at 45 degrees, or one large overhead source. A window on an overcast day works on a budget.
- Diffuse further with a white tent or a sheet to wrap the light around curved, shiny surfaces.
- Never use on-camera flash — it throws hard white hotspots and harsh shadows across the metal.
- Angle the piece (or the light) to push reflections where you want them and kill distracting glare.
The shot list
- Hero — front, straight-on, clean neutral background.
- Angle / three-quarter — shows dimension and setting height.
- Macro detail — the stone, hallmark or clasp, filling the frame.
- Scale / on-body — ring on a hand, earrings on an ear, necklace on a neck or bust.
The scale shot matters more than sellers expect — "smaller than I thought" is a leading jewelry return reason.
Focus stacking for rings
At macro distances, only a sliver of the ring is sharp in any single frame. Focus stacking fixes this: take several shots with the focus point stepped from front to back, then merge them so the whole piece is crisp. It's the difference between an amateur ring photo and a catalogue one.
Background and consistency
Keep the background neutral and quiet — white, soft grey or a subtle reflective surface — so nothing competes with the piece. Lock your lighting and background and reuse them for every product so the collection looks like a set.
The fast way to get on-model and styled jewelry shots
Post-processing
Clean and polish pieces before shooting — it's far faster than retouching dust and fingerprints later. In editing, correct white balance so the metal tone is honest, remove any remaining dust, and sharpen the detail frames. Keep the stone colour true; a punchier photo that arrives looking different erodes trust fast.
Mistakes to avoid
- Flash. Guaranteed hotspots. Always diffuse instead.
- No macro. Buyers of fine jewelry expect to see the facets.
- Dust and fingerprints. Polish first; it saves hours.
- No scale shot. Size surprises drive returns.
- Busy backgrounds. Keep the focus on the piece.
Keep going
See the complete product photography guide for lighting fundamentals, and bags and accessories and sarees for the shot lists that round out an accessories catalogue.